User Administration
Creation of the Users, Roles and Permission access to the screen of LIMA. Permissions for Roles to access at table level and also to access Highly Confidential tables to users by generating key.
User Role Management
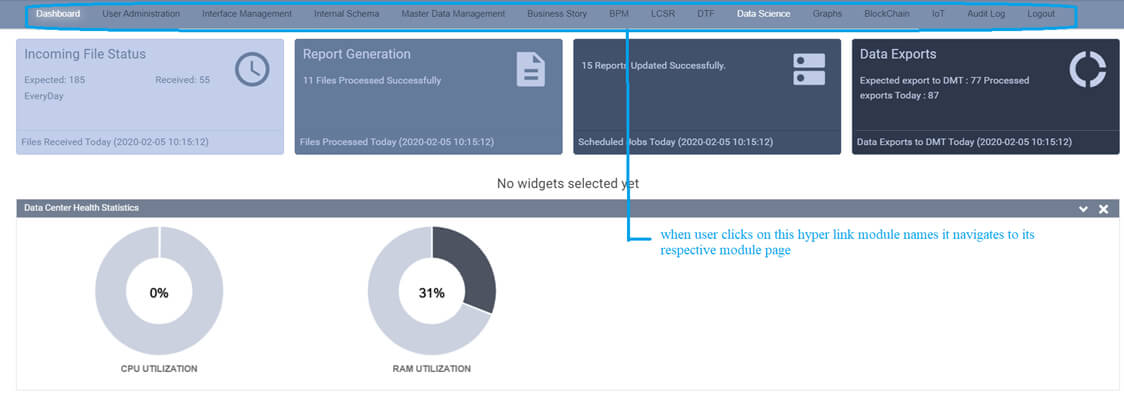
The Dashboard displays the information about incoming file status, report generation, data exports along with CPU and RAM utilization percentages. Dashboard contains all hyperlink module names where each module navigates to its respective pages.
Steps to create a user to access LIMA
Step 1
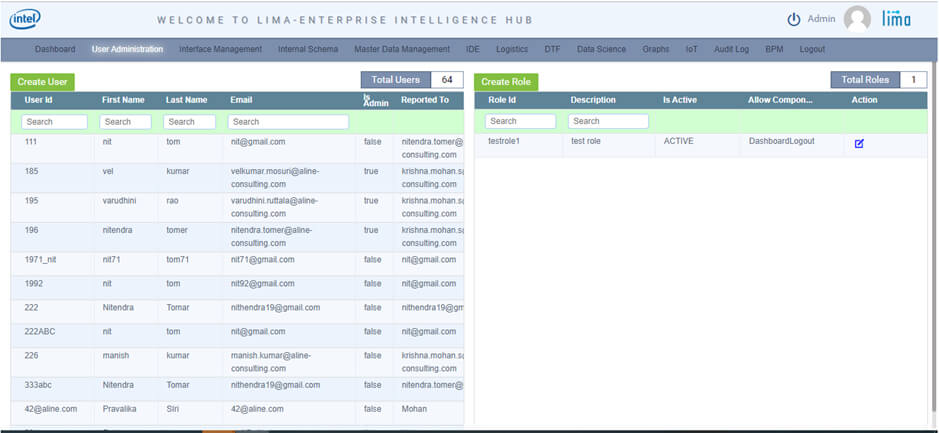
Once admin login, click on User Administration menu in top bar, which redirect to the User Administration page.
Step 2
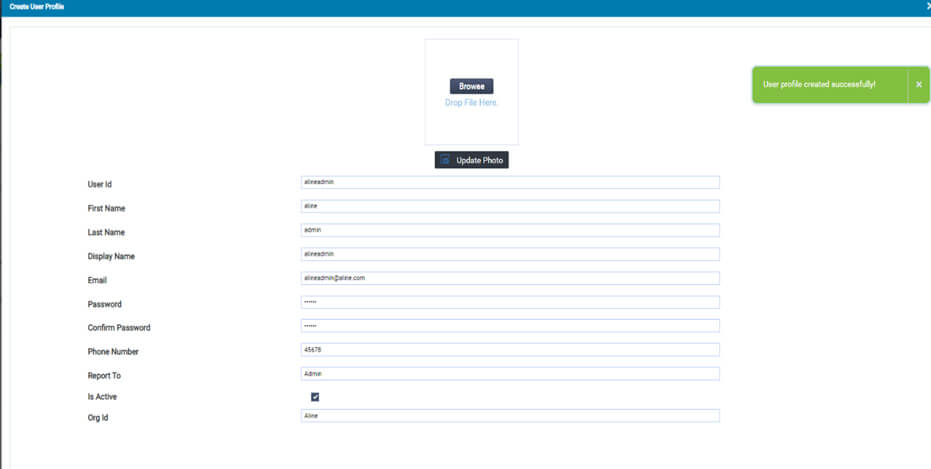
Click on ‘Create User’ assign required fields where user id is unique and click on ‘Save User Profile’
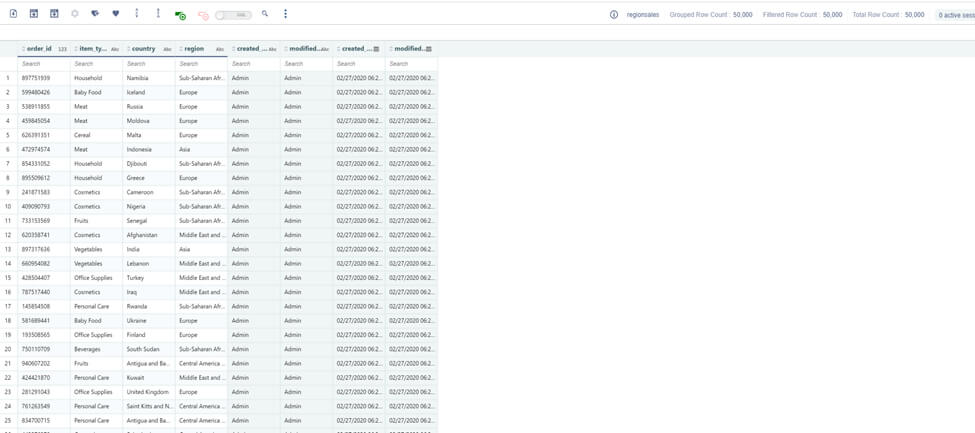
User can search for the created user as below
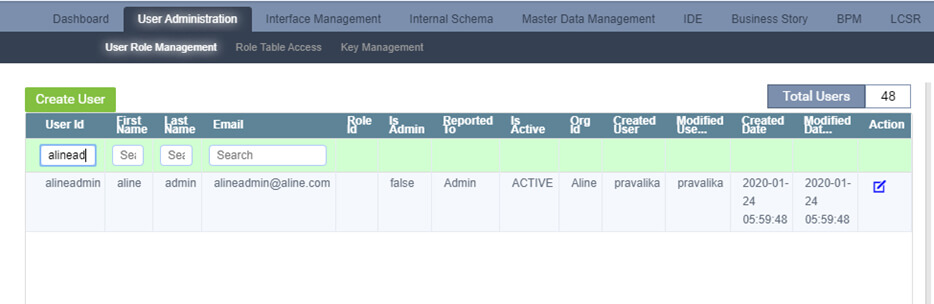
User can edit the created user fields by clicking on edit option
Change the fileds as user requirement and click on ‘Update User Profile’.
Steps to create role and assign screen permissions to the created role
Step 1
Once admin login, click on User Administration menu in top bar, which redirect to the User Administration page.

Step 3
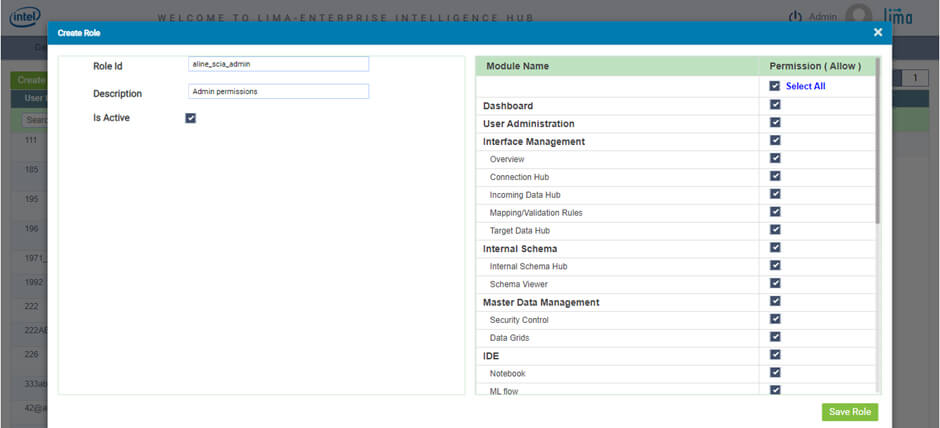
To create new role, enter the Role Id, Description and Is Active fields. Also, in the same popup give the screen permissions to be allowed for this role. Use Select All option if the role need to have permissions to all screens. Dashboard and Logout screens are mandatory to choose. Up on entering all the fields, click on Save Role button to create and save role permissions.
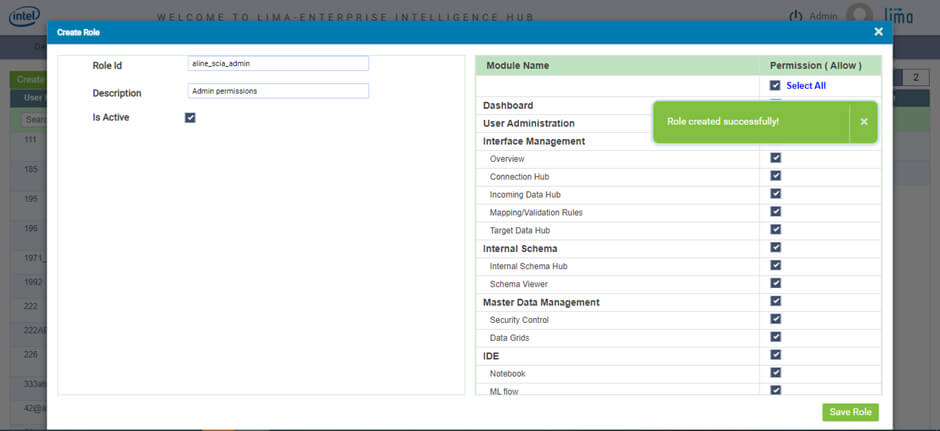
After click on Save Role, we will get a confirmation notification “Role created successfully!”.
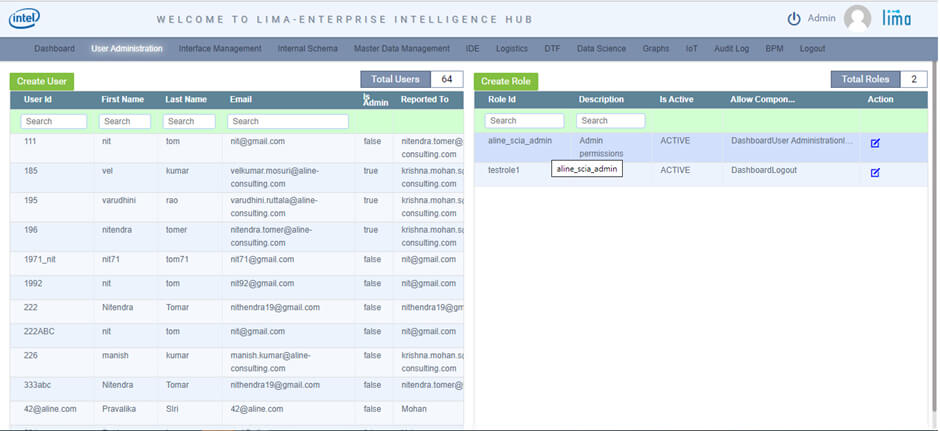
We can see the created roles in the table, as shown in above screen shot.
Role Table Access
Steps to assign table access permissions to a role group
Step 1
Once admin login, click on User Administration menu in top bar, which redirect to the User Administration page.

Step 2
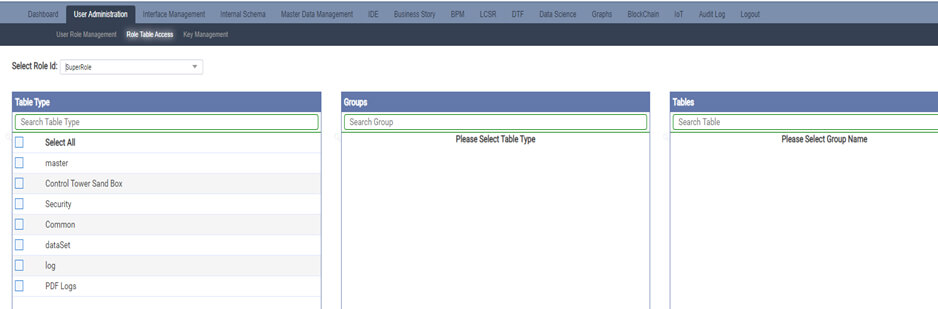
Click on “Role Table Access” under User Administration where a user can view list of table types from LIMA.
Step 3
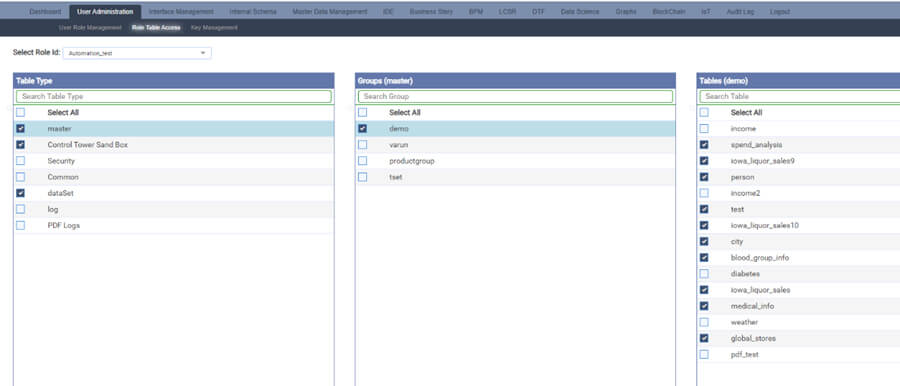
Select a role id from dropdown and select the table type. List of groups under the table type will be displayed. Select Group name, list of tables under the selected group and table type will be displayed. Select the tables. This process of table access can be provided from multiple table types, Groups and Tables.
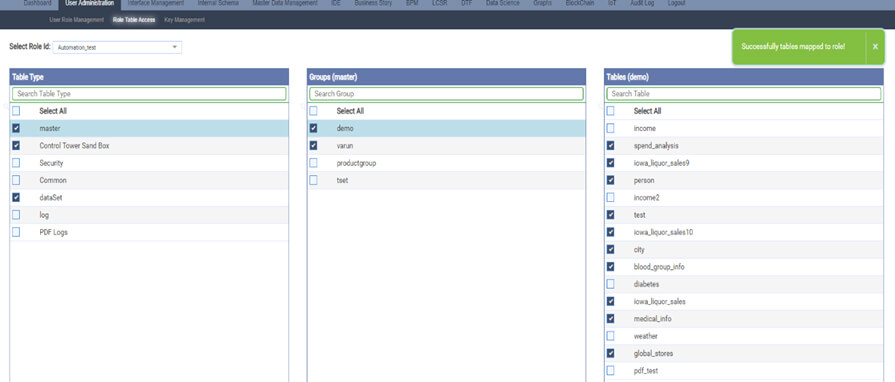
After the selection click on save. Hence a user with this role id can access the assigned tables.
Key Management
To Enable Security in Lima Using Key Management. LIMA achieves security of tables metadata by using Key Management. Here Super User can secure the table metadata to the normal user by generating a key. Steps to assign user group and/or role to a user in LIMA.
To enable RSA Security in Lima

Step 2
Navigate to Internal Schema. Create a table, columns in a table and click on create table with “Highly Confidential” check
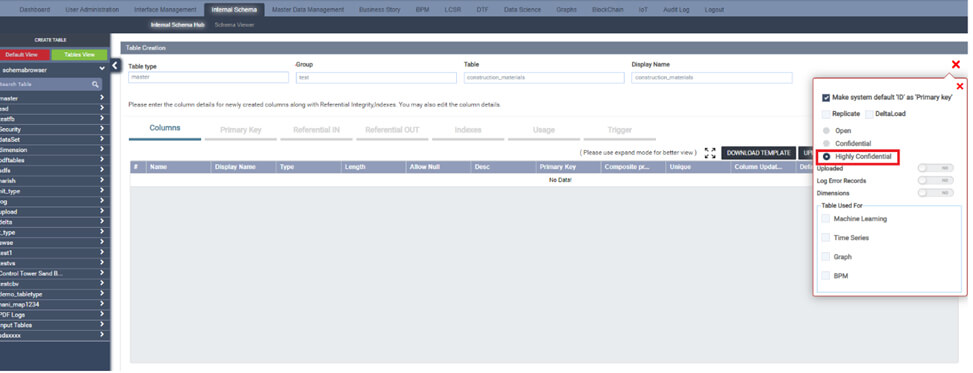
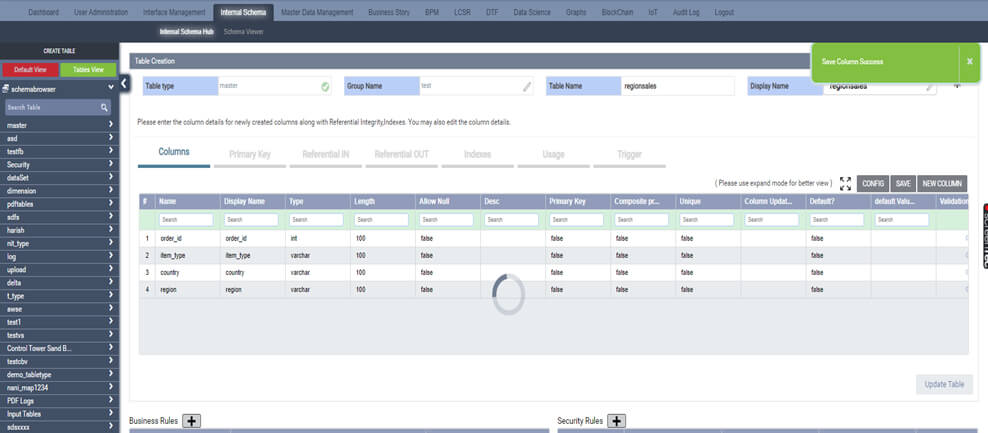
Creation of a table with columns will be successfully created.
Step 3
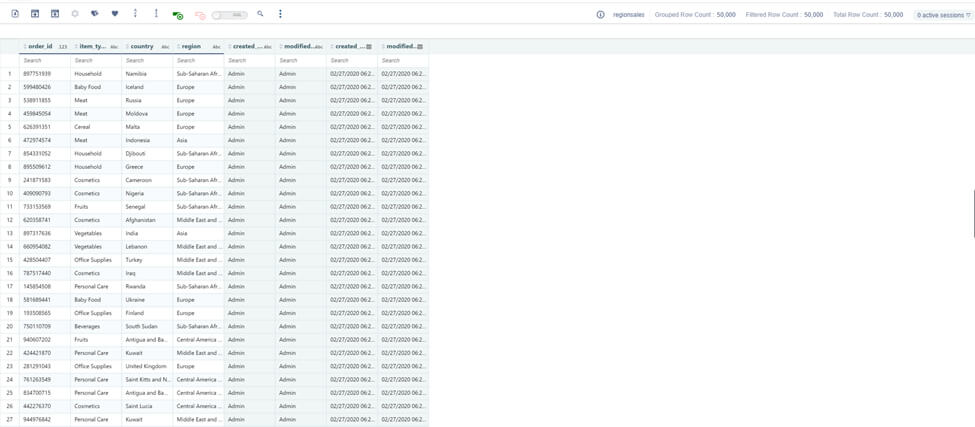
Import data using Data load/ Workflow/ import in data grids and data gets populated in highly confidential table created by super user.
Step 4
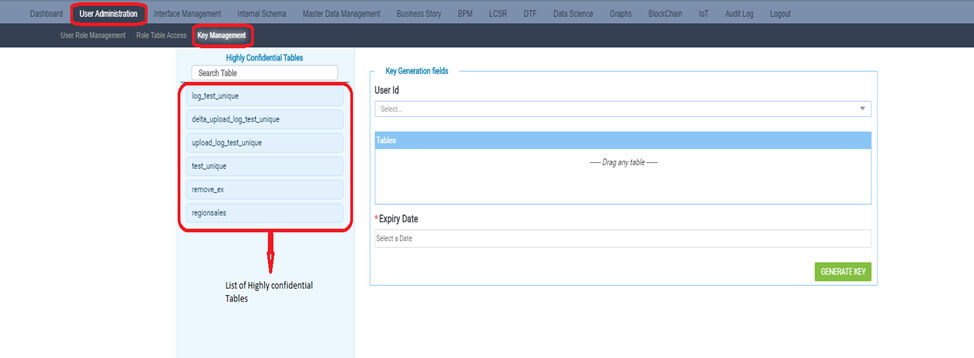
Navigate to User Administration then Key Management. Here in this screen Super User can view all the list of highly confidential tables as shown below.
Step 5
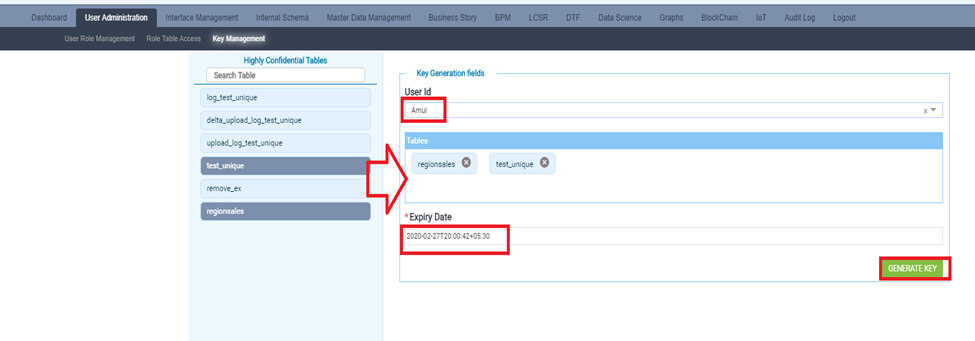
Select an User Id (normal user) and drag and drop the tables for which Super user wants to give access to normal user and select an expiry date and click on ‘Generate Key’.
Step 6
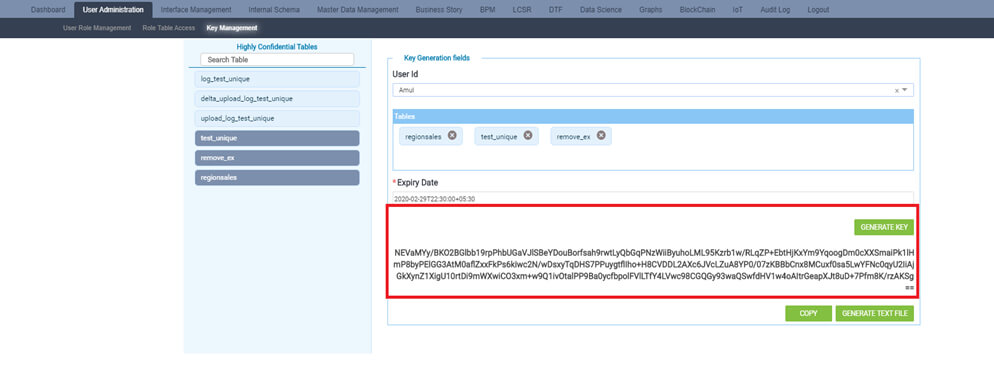
Key will be generated user can copy the text or Generate text file. Super user need to share the key to normal user if user need to see meta data of the highly confidential table.
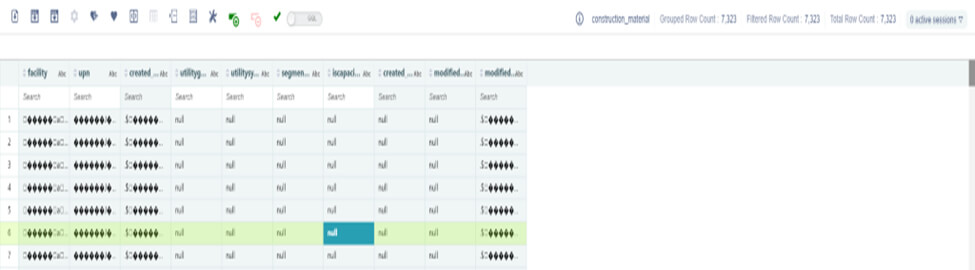
After generation of key login as normal user can view table in Data grids but metadata is shown in encrypted data as shown below.
Step 7
Normal user can view an alert pop-up to enter the generated key in Data Grids.
Click on OK. Now normal user can view the data for the key generated tables.